 Winter is the perfect time for families to head outdoors and embrace the season’s beauty. Start with an outdoor winter tree hike—an activity that’s both fun and educational. This adventure will teach children about their local environments, including how trees adapt to winter, what wildlife depends on them, and what materials can be gathered for crafts. Whether you’re collecting pinecones, leaves, or twigs, this hike is a great way to connect with nature and prepare for the creative activities that follow.
Creative Forest-Inspired Art:
 Forest Hanger
Transform natural treasures from a walk in the woods into a hanging decoration.
What You’ll Need: Leaves, a slice of wood or pinecones, an electric drill, paint, string, white glue, beads, and other forest finds (optional).
Begin by painting a circular wood slice or pinecone as the hanger’s base. Once dry, glue leaves and other forest ornaments to the slice. Drill a small hole near the top of the slice and attach a string to hang the decoration. Tie leaves, pinecones, and other natural materials to the dangling strings. You can add beads or painted items to your design for an extra creative touch. Adjust the string lengths to create an eye-catching pattern, then hang your creation near a window to enjoy its rustic charm.
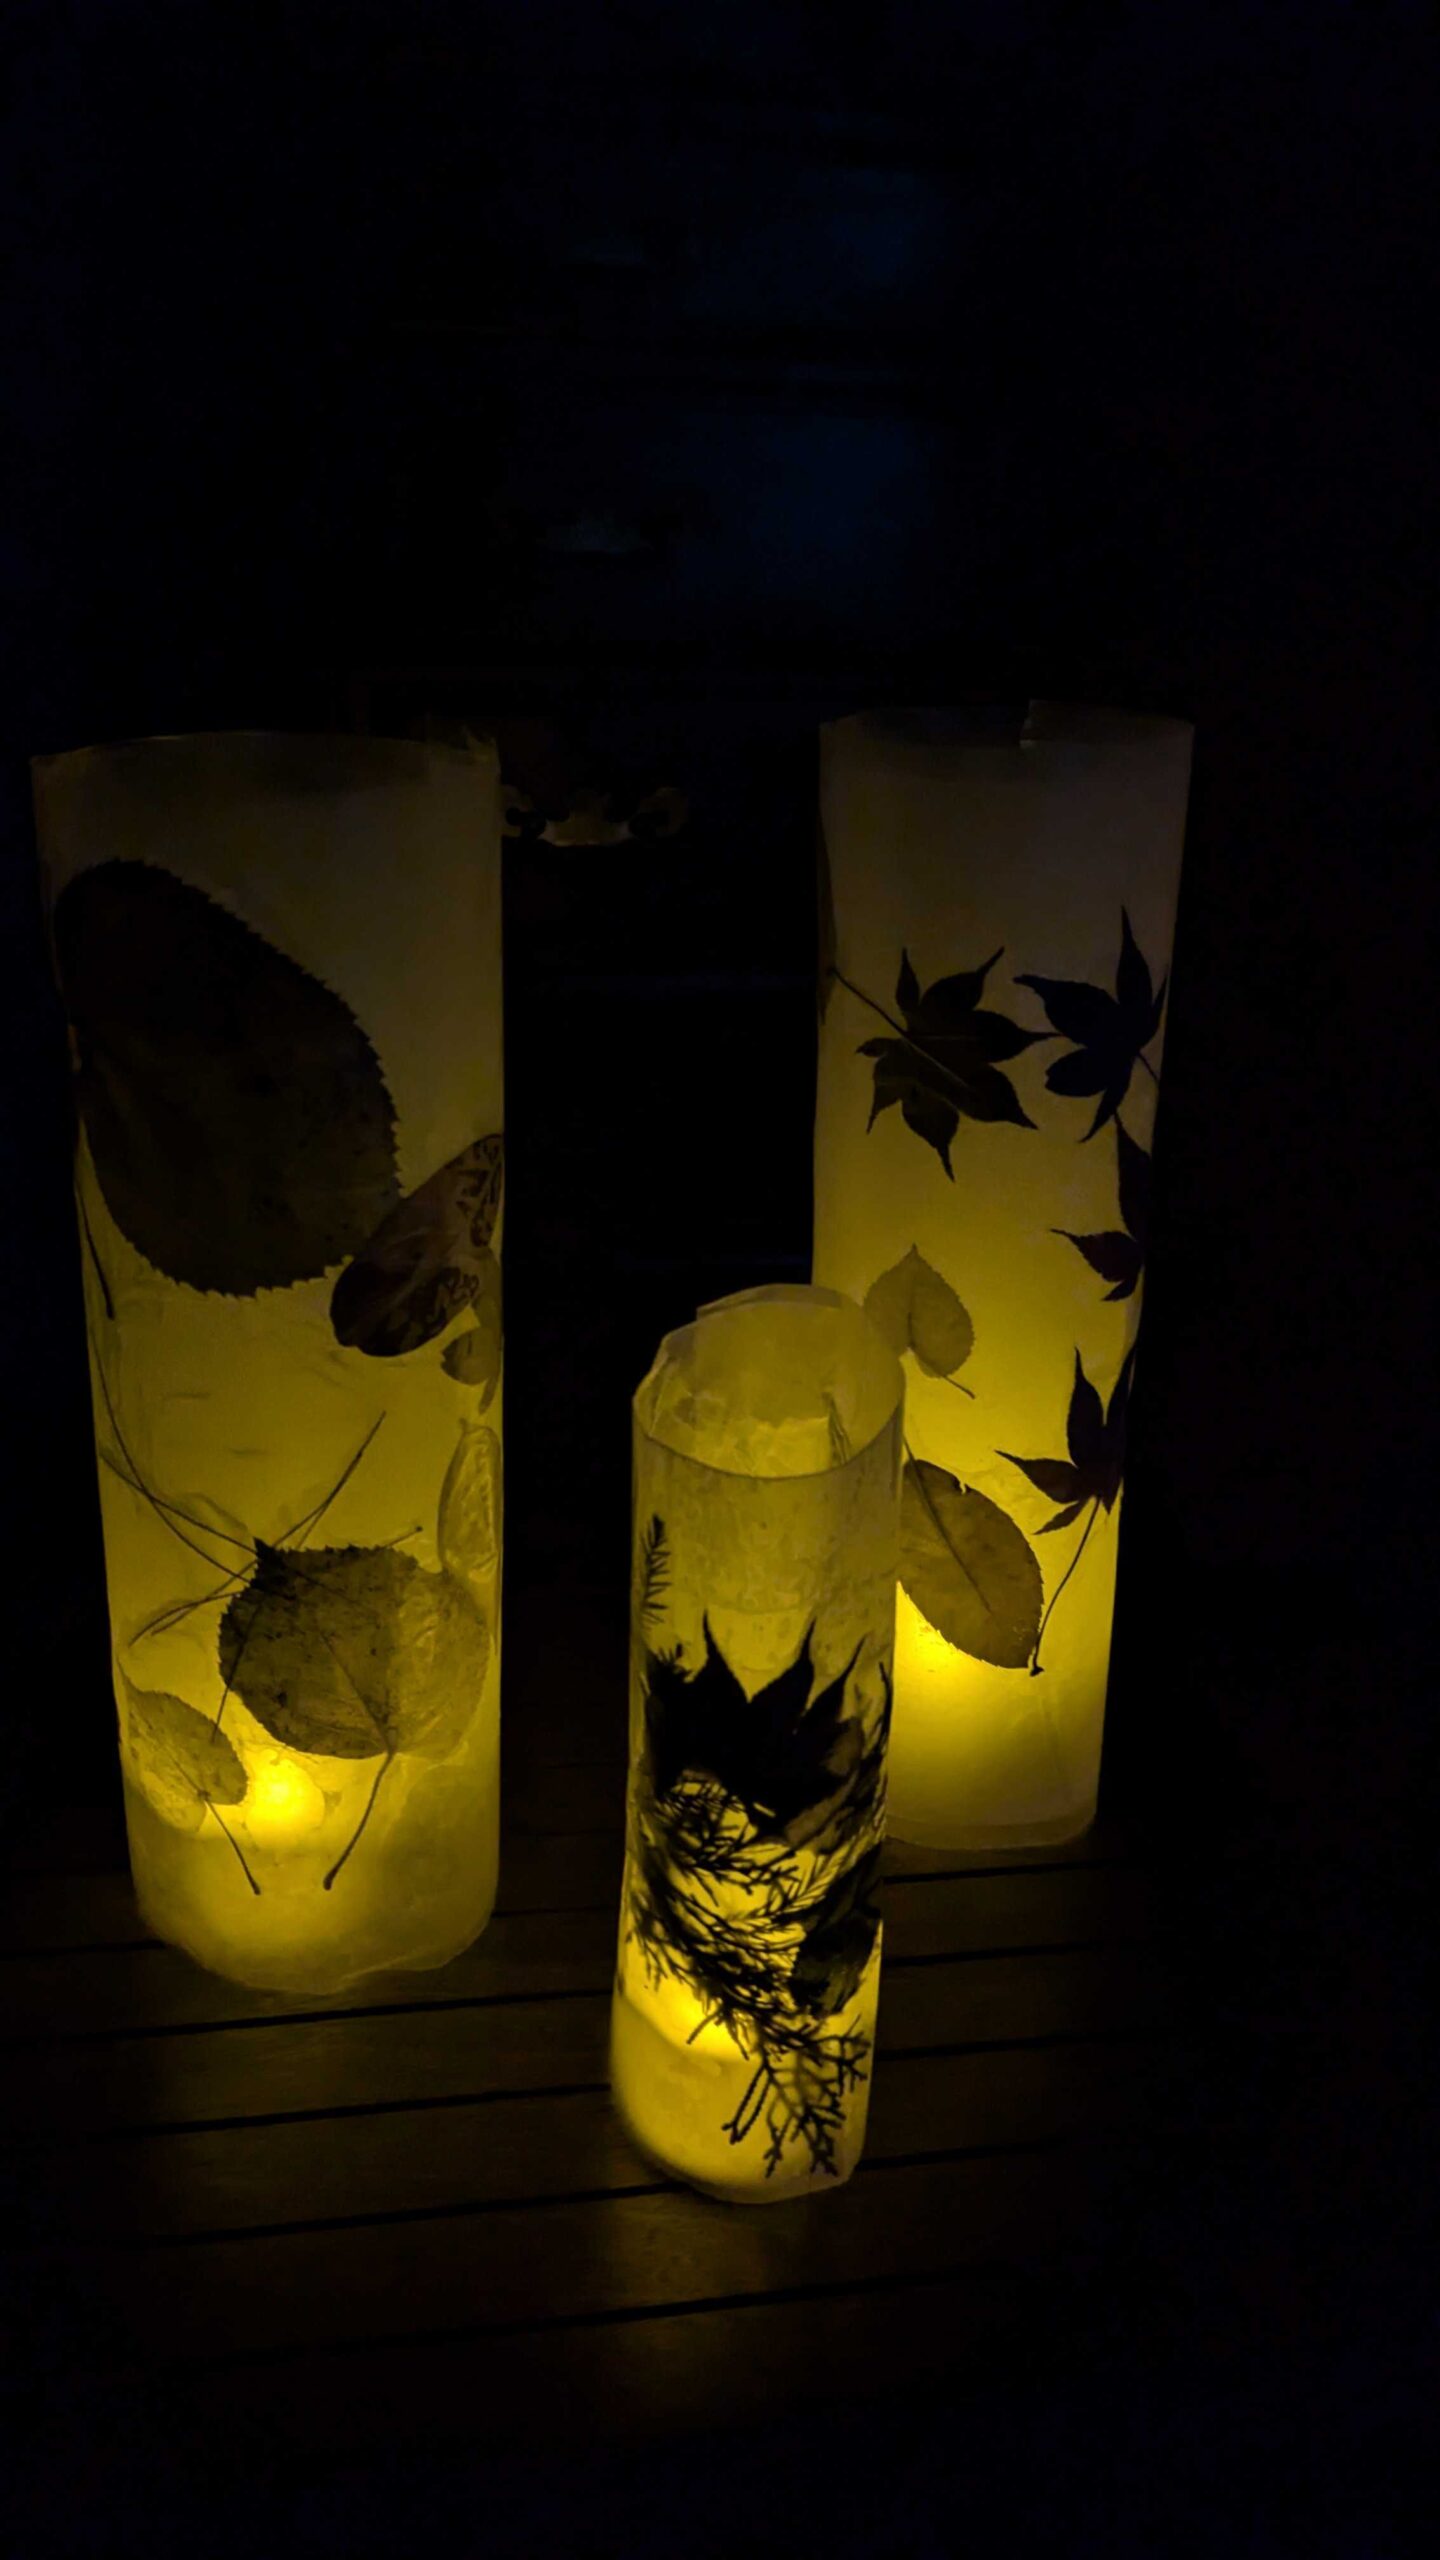
 Pressed Leaf Lanterns
Light up long winter nights with this simple and elegant craft.
What You’ll Need: Pressed leaves, wax paper, towel or ironing board, scissors, tape, and a battery-operated candle.
First, collect fallen leaves from trees, being sure to collect a variety of colors, textures, and shapes. Optional step: press leaves using a heavy book for a few days to ensure they are flat and dry (the craft can be completed without this step, but it does make following steps easier). Cut a piece of wax paper and arrange the leaves on top. Once arranged, place another piece of wax paper on top, sandwiching the leaf arrangement between 2 pieces of wax paper. Carefully move this to an ironing board, and iron on a low heat setting, sealing the leaves between the wax paper. Afterward, let cool, then cut into a uniform square or rectangle piece, ensuring not to cut too close to the leaves. Then, roll the wax paper into a cylinder and tape it into place, creating the lantern. To light, do not use a live flame. Place a battery-operated candle inside to illuminate the leaves’ intricate patterns, creating a cozy and magical atmosphere.


Caring for Pollinators:
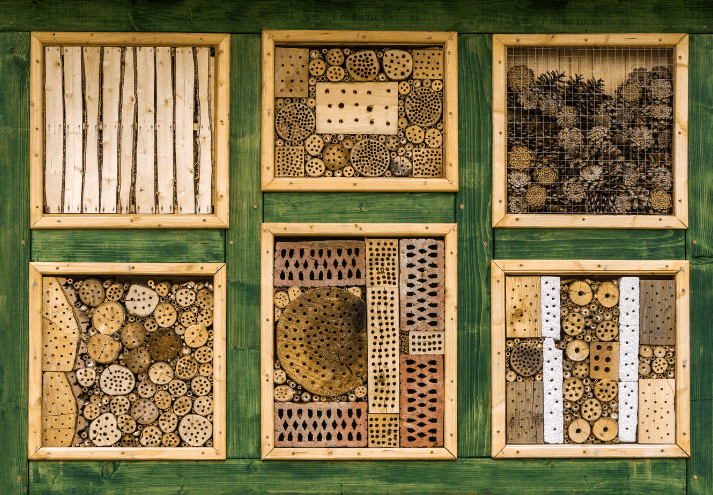 DIY Insect Hotels
Creating a cozy insect hotel will give pollinators a safe space during the cold months!
What You’ll Need: A wooden box, a hot glue gun and glue, white glue, and bug-friendly nesting materials (newspaper scraps, sticks, bark, bamboo, pebbles/rocks, leaves, dried flowers, straw, yarn, burlap, wool).
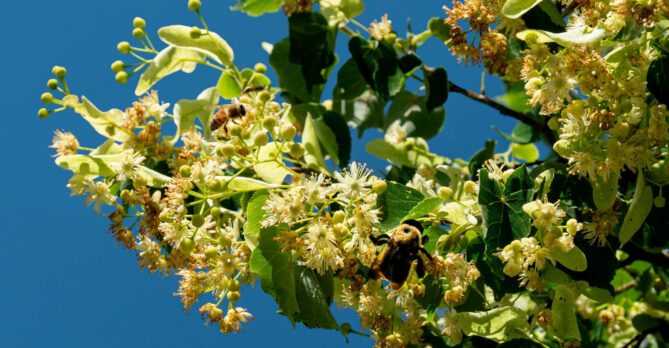
Start by selecting a wooden box or container to serve as the structure of your hotel. Cut sticks into pieces slightly shorter than the depth of the box. Fill the box with layers of bamboo, twigs, dried leaves, and pinecones, packing them tightly to ensure they stay in place. Position the materials so they create crevices for insects to crawl into. Once filled, hang the insect hotel in a sheltered outdoor spot, such as under a tree branch or near a garden bed.

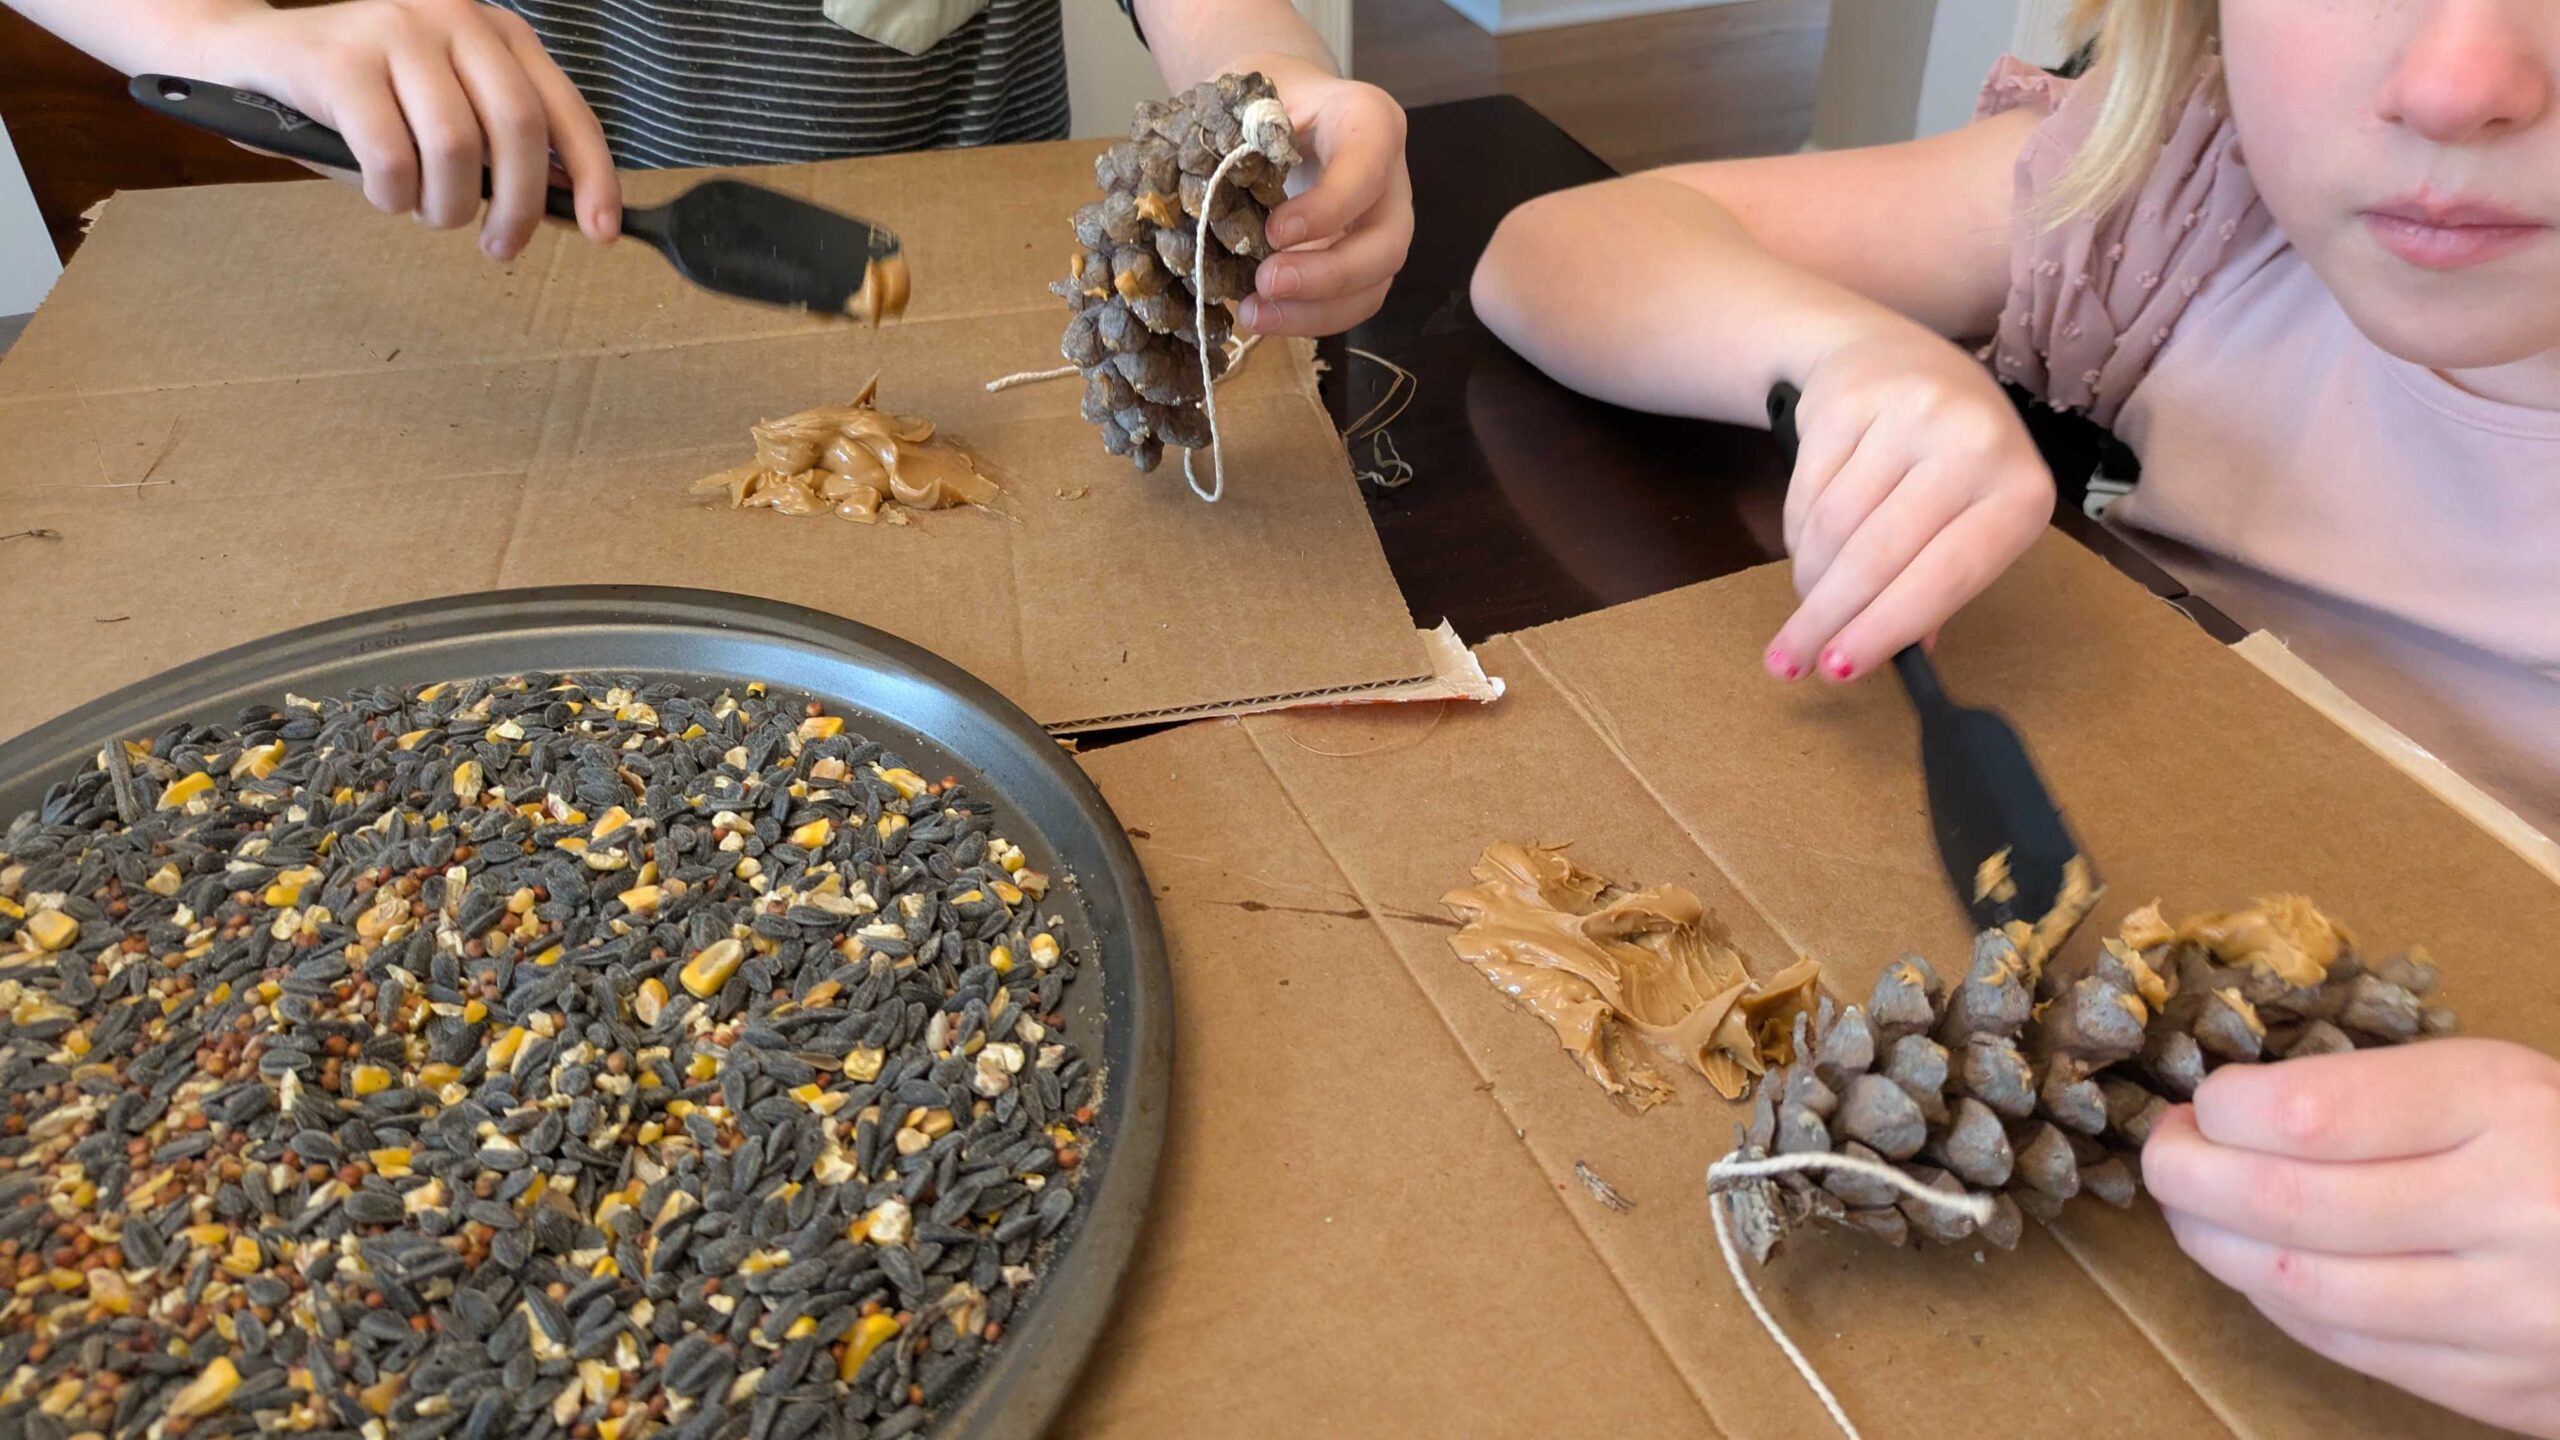 Pinecone Birdfeeders
Create a simple bird feeder to help our feathered friends during the winter months.
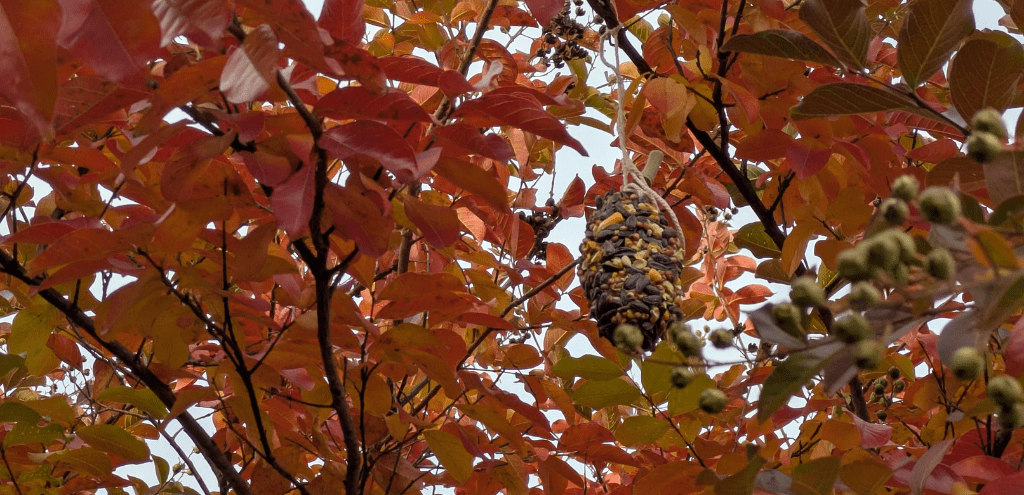
What You’ll Need: A pinecone (or a Southern Magnolia seed pod!), peanut butter (or any kind of nut/seed butter), birdseed, and string.
Start by collecting a pinecone or seed pod. Use a knife or spoon to cover the pinecone generously with peanut butter (or another nut/seed butter). Next, roll the peanut butter-covered pinecone in birdseed to coat it thoroughly. Finally, tie a string to the top of the pinecone and hang it in a tree, where local birds can enjoy their new treat.
Exploring Weather:
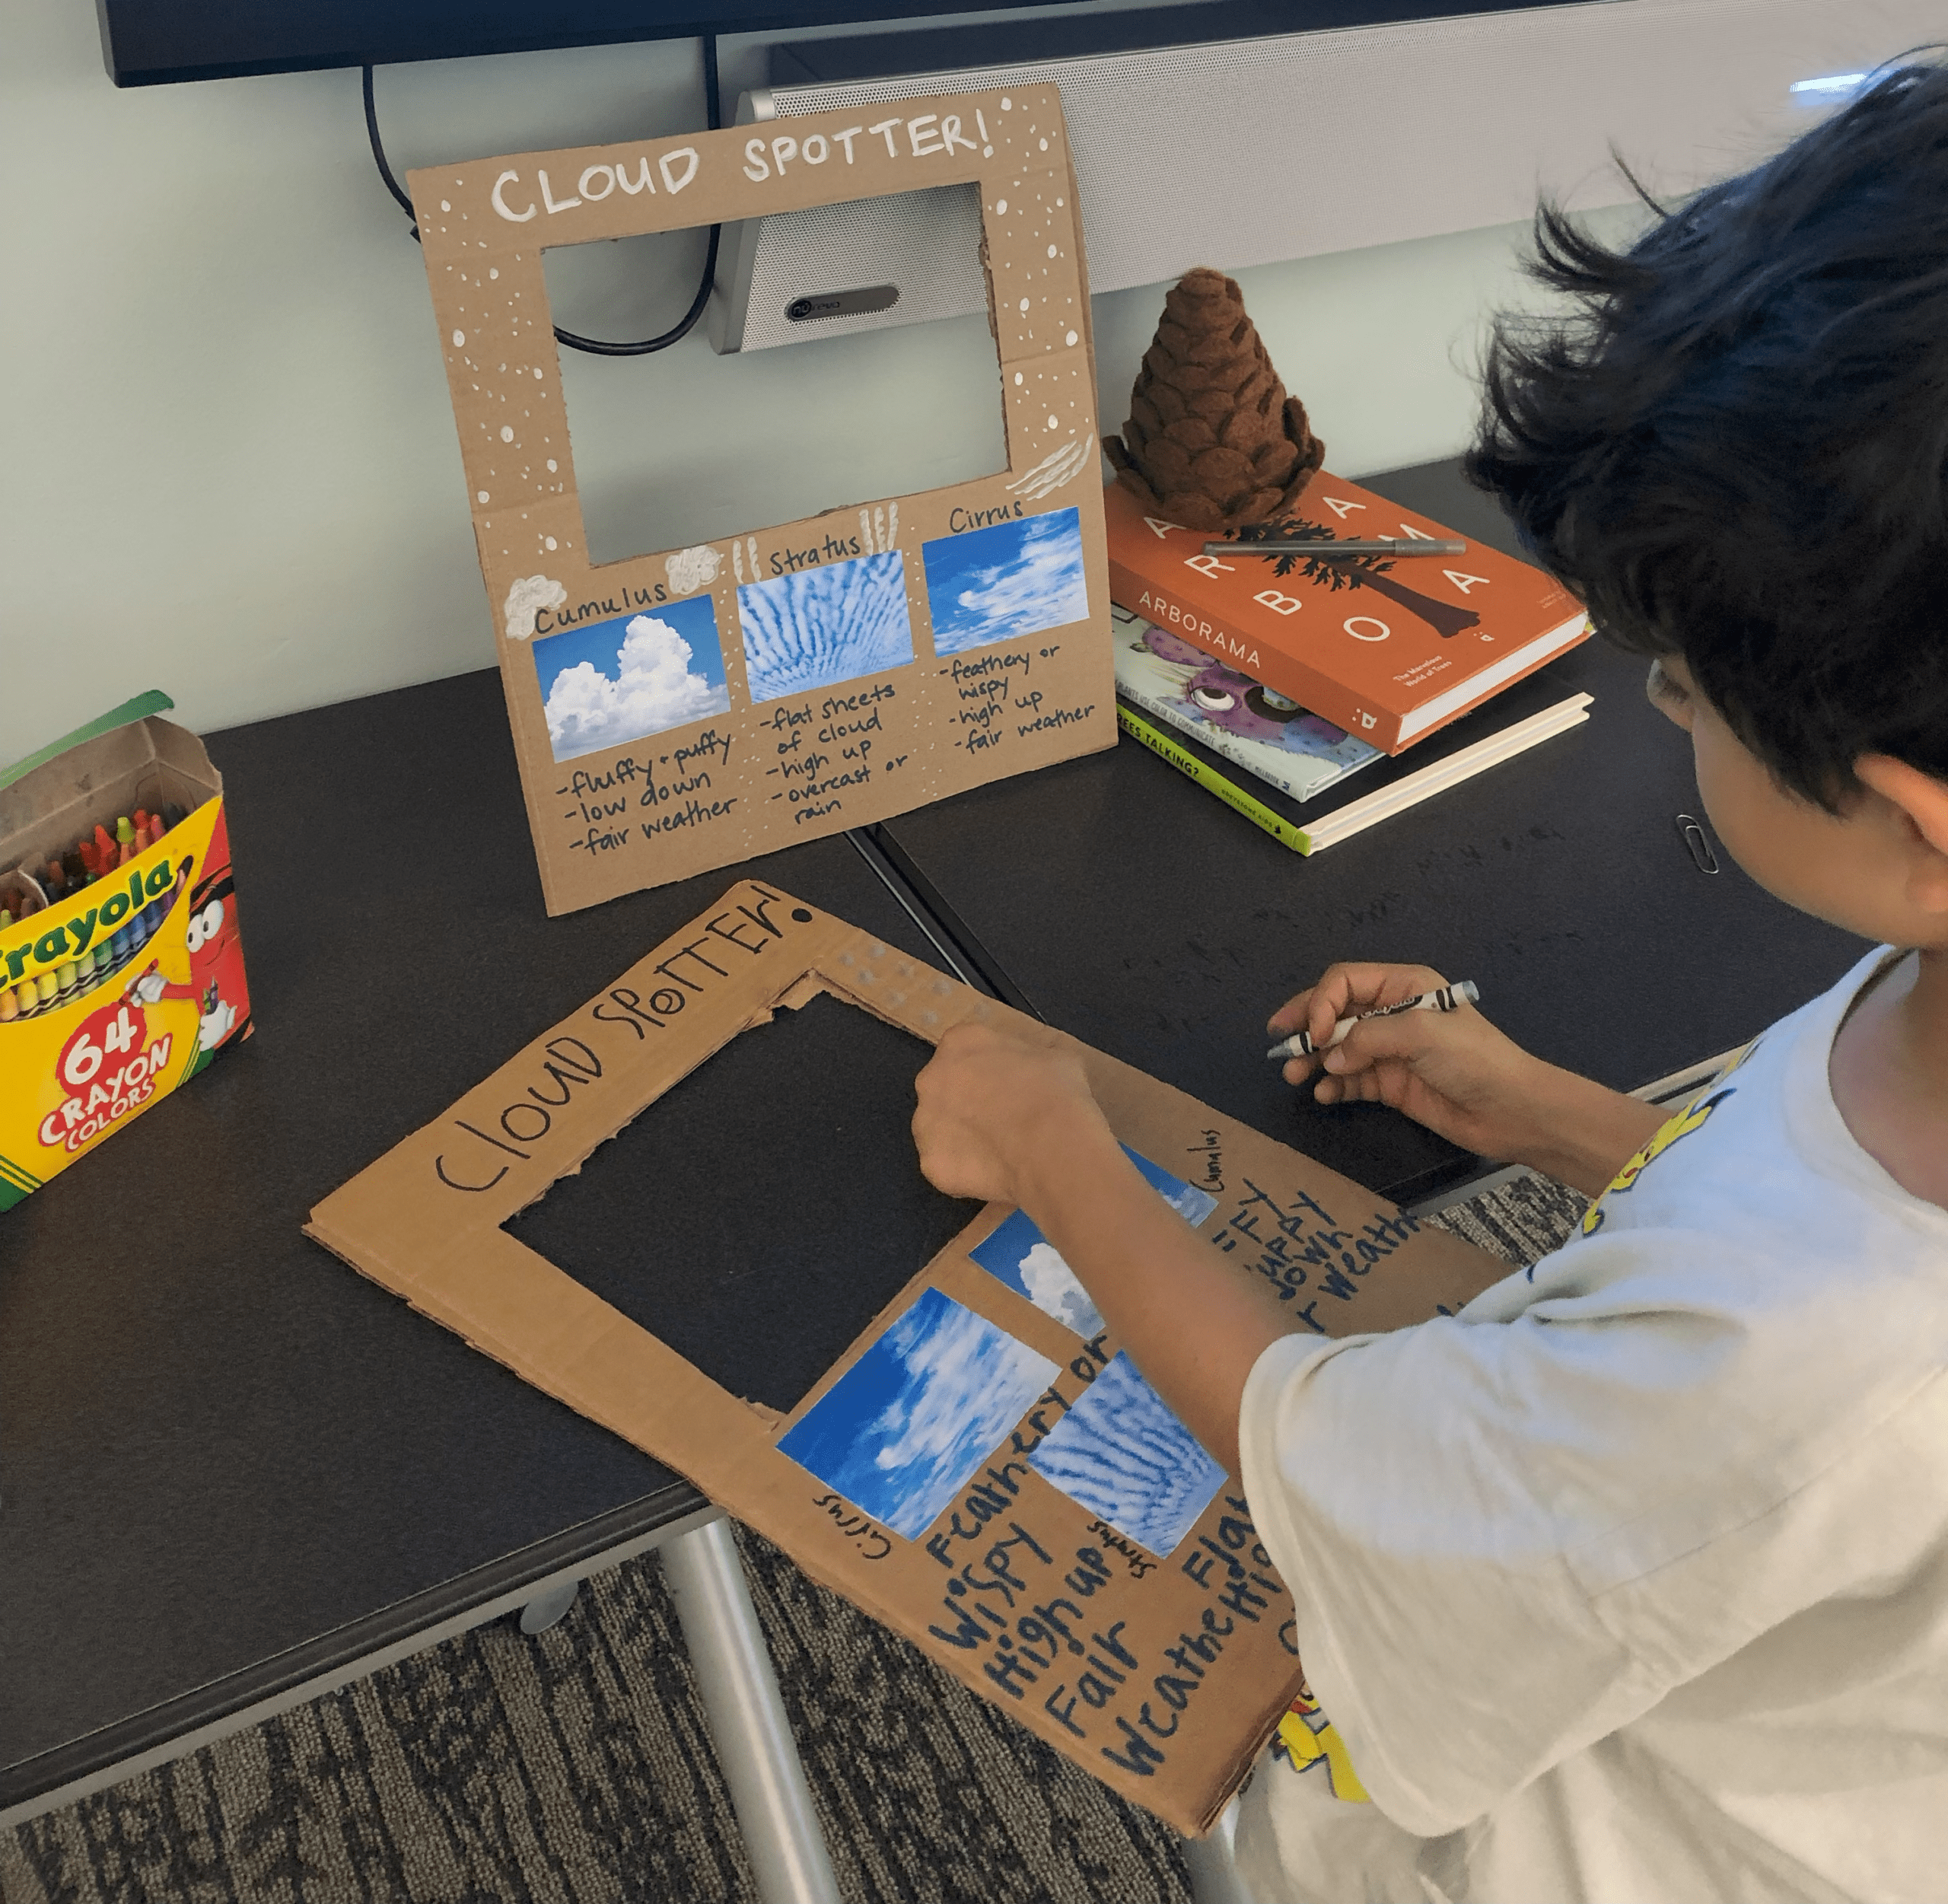 Cloud Spotter
Trees are sensitive to weather changes, and this craft lets kids learn about clouds while observing the natural world.
What You’ll Need: Cardboard, a cardboard knife (adult help required), paints or markers, cloud-type images, and glue.
Begin by cutting a cloud-shaped hole in a piece of cardboard. Once the shape is ready, encourage kids to paint or draw on the cardboard—rainbows, suns, or their own designs add a personal touch. Print or draw images of different cloud types (e.g., cumulus, cirrus, stratus) and glue them around the edge of the cardboard. Once complete, head outside to observe the sky and use the cloud spotter to identify the types of clouds you see.
These crafts are a fantastic way to spend quality time with family and offer valuable lessons about nature and sustainability. Let’s make this winter a season of creativity, connection, and care for our environment.